
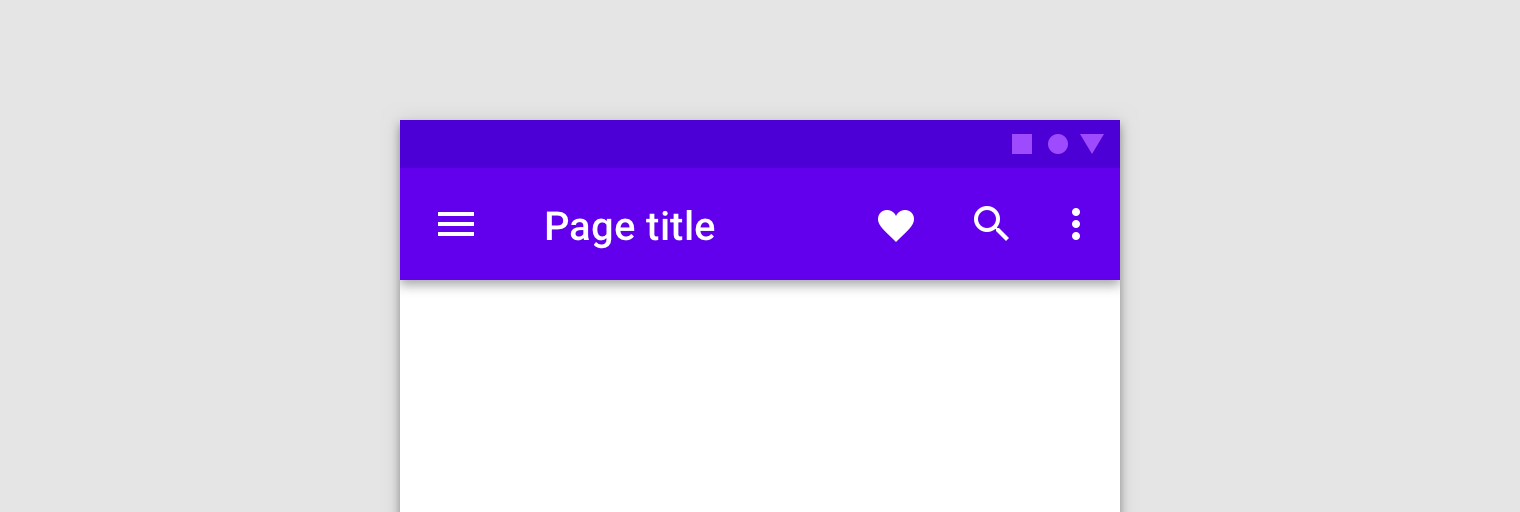
Today, we will talk about animation of Material Design’s Toolbar. As you can see in the picture below, we need to animate couple of Views together.
In this part, we will design the components and learn how to animate the text and icons. There’s going to be another article that describes background animation. I think it will be more interesting part for you guys.
You can also check react-native-material-ui library, which already implements the Toolbar component. I’ve been using it for Savee.io.
Idea
We will implement LeftElement, CenterElement, and RightElement. Then we have a Toolbar as a wrapper of those three components. There are two states. The search mode is either active or inactive. So we will animate a transition between them.
The first animation is a rotation of the LeftElement (arrow icon). The second animation is an opacity of CenterElement (title). We need both of the components to be re-rendered during the animation. LeftElement is changed from menu icon to arrow icon. CenterElement is changed from Text component to TextInput component.
Let’s code
First of all, we need to create a simple static View. No state, no animation.
The LeftElement and RightElement components are almost the same. Note that the IconToggle component is included in the react-native-material-ui library. You can also check the Ripple Effect Article on this blog if you are interested in how it works.
The CenterElement component is also quite simple.
Let’s add the state
We have to add the state to the Toolbar that will control the animation. We can already use it for searching now but we want it to be more cool, right?
After we press the right icon, we set isSearchActive to true and pass it to all components via props. Then we have to pass a value of TextInput to RightElement and show clear button if it’s needed. Here’s a code for right icon. You can change the left icon in a similar way.
Let’s animate
We start with the left icon, which rotates and changes from menu to arrow. Then we animate the opacity of title. The right icon stays without animation. Sometimes, it’s better to do nothing.
Left element
We start to rotate menu icon to 90 degrees. Then we set leftElement to the arrow. It invokes re-render of the component and renders arrow instead of the menu. Then we can rotate arrow icon from 90 to 180 degrees. It would be better to have kind of micro animation over here but it’s not the goal of this article. Maybe next time?
The animation starts in componentWillReceiveProps where we check isSearchActive in props. We need to know if we animate from zero to 180 degrees or from 180 to zero.
It’s good to know about Animated’s interpolate function (line 40), which maps value to different value. It’s from number to degree in this case.
Center element
We change CenterElement in a similar way. We need to set the state in the half of the animation.
We animate the opacity from 1 to zero. Then we set a state.textInput to true. It invokes re-render and renders TextInput component instead of Text. Note that the opacity is still set to zero. So we need to animate the opacity again. From zero to one.That’s all for now. Everything is ready to implement the background animation.
Second part is here — it is about how to animate the background of toolbar.
Did you like it? Clap, Comment, Share and Follow me! 👏
Actually you don’t have to do anything of that. But it will help me a lot. It’s a big motivation to the next work. Next articles like this for you guys.
About me 👦
I am an author of Savee.io (which I also use as a playground for my animations 🤷). I open-sourced react-native-material-ui and react-native-motion libraries. Writing about them in this blog.
If you need a help with your React Native app (animations, performance, etc.), let me know, please ;) I will be happy to discuss it.