Hey guys! It’s been a while since I wrote an article about animation. I’ve needed to solve a problem with Ripple effect for iOS recently. Now, I'd like to share how I have done that with you guys.
I am currently looking for a new job or project. If you need a help, with either React Native or React, let me know, please ;) I will be happy to help, learn, discuss, etc. I am available to hire right now! LinkedIn or Twitter
The goal
Create a RippleFeedback component that we can use for both Android and iOS. Since the Android version is pretty easy, using TouchableNativeFeedback, we won’t talk about it. Anyway, you can see it in react-native-material-ui.
The idea 🤔
We’ll get a content for a RippleFeedback component as children. In this case it’s a Button component. Then we need to create Background Layer (BL) and Ripple Layer (RL) which is represented by rounded View component (circle). Those views will be wrapped by TouchableWithoutFeedback component, because we still need to provide events like onPress, onLongPress, etc.
When I tried this feature on Android I noticed it behaves slightly different for onPress and onLongPress. You will see later in this text.
Immediately after onLongPress is called the BL is displayed. When user releases the button BL is animated to default value and in the same time starts Ripple animation (opacity to zero and scale value to 1).
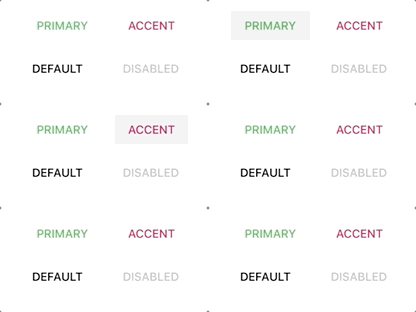
After onPress is called all of these animations happen in the same time. Opacity of BL is animated to maximum value, opacity of RL is animated to zero and RL’s scale value is animated to 1. After all of these animations are finished, BL is animated to default value (zero) and RL is reset to default values. Note that they are animated and reset. You will see why we don’t have to animate RL’s values.

Let’s code ✍️
Here’s a skeleton of code with Views rendered in default mode. You can see default animated values in constructor. RL’s scale value (scaleValue) is set up to zero because we want it to start as a really small point (actually hidden point). And its opacity (opacityRippleValue) is set up to maxOpacity which is value between 0 and 1 (in this case it is 0.3). Last value is BL’s opacity (opacityBackgroundValue) which started as a hidden layer (value is set up to zero) and after user presses it is animated to max opacity and back to zero. It makes a blink effect.
A children node is passed to this component as a content. We just need to render it inside of TouchableWithoutFeedback component.
Then we have a background layer (BL) and ripple layer (RL). BL is rendered in the same size as a container and RL is rendered as a circle with zero size by default. BL makes a blink effect and RL makes a ripple effect.
Notice an order of components. We don’t use zIndex. If we put children as a third child it would be over both layers Background and Ripple.
One more thing here — pointerEvents. For both layers BL and RL we set up this to none because we don’t want to get any events like an onPress. For container View, we set box-none which means we want to get only children events not events of container itself.
Let’s animate
First of all we need to know the point where the Ripple Effect should start.
Immediately after user presses the button, we store a point where user tapped. And as you can see, in renderRippleLayer, we use this point to set up the position of RL. In other words we put a center of circle to this point. Just note that the circle has still zero size in this moment.
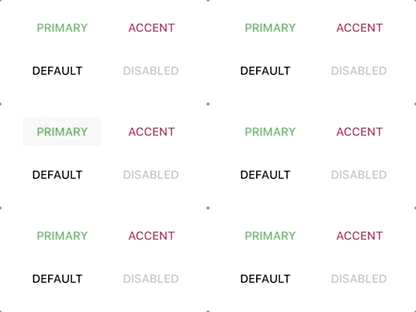
We’ll start with onPress event and only with Background Layer (blink effect). You can see Animated.parallel that runs all animations from array in the same time. It will make sense once we push RL Animation to array (next example). Line 6 animates opacity from zero (default value) to max opacity. Then after the animation is finished we need to animate value back to default. We can use start’s callback which is called exactly after the animation is finished. Now, we can animate opacity of BL back to default value. Here’s how the animation looks like without Ripple Animation. Blink!
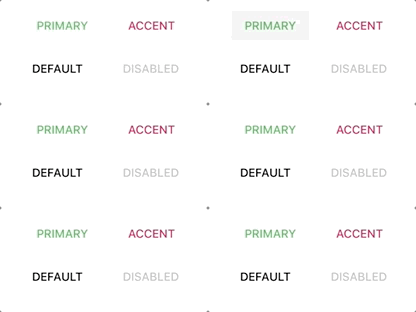
Let’s animate Ripple Layer. It’s the same onPress method. I’ve just commented what we’ve seen in previous example. Now, we animate RL’s opacity from default (maxOpacity) to zero and scale value from 0 to 1.
After is finished, we need to set those animations to default values to be ready on next press. That’s what setDefaultAnimatedValues does. We don’t have to animate the values back to defaults (we just set them). Because it’s actually hidden after animation is finished. See line 11 of previous example. We animated opacity to 0. That means it’s hidden and we can set those values immediately without animation. Ripple Effect without BL looks like this.
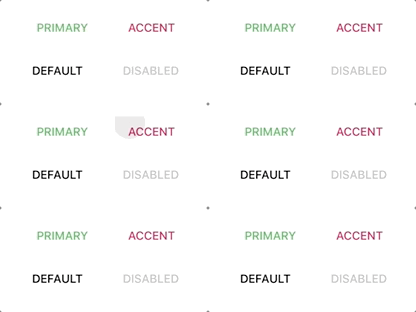
And that’s it. It’s not so complicated, is it? Here’s both of animations together.

There’s still onLongPress animation remaining. Anyway, it’s almost the same like onPress animation. We just need to separate them. When user presses and holds the button we’ll display BL. That means we animate BL’s opacity from zero to max opacity. It seems like user holds the BL displayed during a holding of the button.
Then we make the magic in onPressOut method. Opacity and scale of RL’s is the same like in onPress. Only difference is we slowly animate BL’s opacity back to default value. We have done this step in start’s callback. But now, we have displayed BL in onLongPress already so we animate it back to default here, together with Ripple Effect. It looks like this.

Easy peasy …
I know, I know :) I needed that to be done for Reservio application which uses react-native-material-ui. Anyway, I hope there is someone who appreciates this and maybe learn something new or just gets an inspiration. Or questions?
Did you like it? Clap, Comment, Share and Follow me! 👏
Actually you don’t have to do anything of that. But it will help me a lot. It’s a big motivation to the next work. Next articles like this for you guys.
About me 👦
I am an author of Savee.io (which I also use as a playground for my animations 🤷). I open-sourced react-native-material-ui and react-native-motion libraries. Writing about them in this blog.
If you need a help with your React Native app (animations, performance, etc.), let me know, please ;) I will be happy to discuss it.

